Why Your Lawn Mower Dies After It Warms Up (and How to Fix It in 30 Minutes)
Your mower starts right up, runs great for five or ten minutes, then coughs, sputters, and quits — and won’t restart until it cools down. You’ve already replaced the spark plug. Maybe twice. It still does it. Here’s the truth: nine times out of ten, this symptom isn’t ignition at all. It’s a varnish-clogged carburetor, and you can have it sorted in about 30 to 45 minutes with a few dollars’ worth of cleaner and a rebuild kit.
First-Hand From the Bench
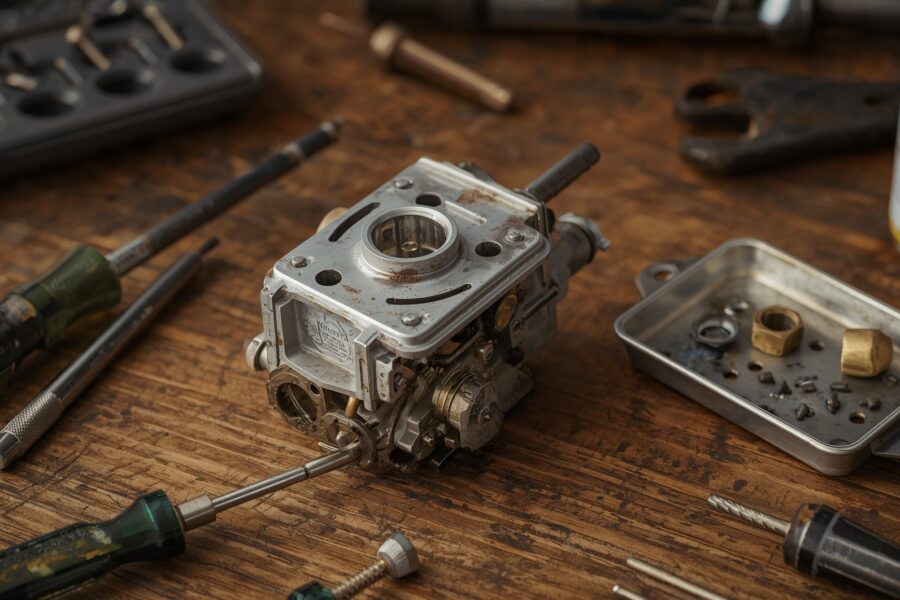
Had one of these on the bench last Saturday — guy swore he’d put a new plug in twice. Wasn’t the plug. It was a pinhole of varnish in the main jet you could barely see if you held it up to the light. The engine started cold because at low temperature the fuel mixture is richer and the idle circuit is pulling fuel from a different passage that happened to still be clear. Once the engine got warm — maybe eight minutes in — thermal expansion tightened everything up just enough that the varnish blockage in the main metering jet stopped fuel flow cold. Engine starved out. Every time.
The main jet is a tiny brass fitting, usually about the size of a pencil eraser, threaded into the bottom of the carburetor body. It has one small hole drilled through the center — we’re talking 0.020 to 0.040 inches in diameter on most residential small engines. That hole meters the fuel that feeds the engine at full throttle. When ethanol-blended pump gas sits in a carburetor over a winter (or even a few weeks in summer heat), the ethanol evaporates and leaves behind a yellowish-brown lacquer residue. Mechanics call it varnish. It doesn’t take much to partially block a hole that small. And because the blockage is partial — not total — the engine still starts and runs fine until heat causes the metal in the carb body to expand slightly, the fuel demand goes up as the engine reaches operating temperature, and the restricted jet can’t keep up.
The customer in question had spent $18 on two new spark plugs and an hour of frustration. The actual fix — a $6 can of carb cleaner and a $14 rebuild kit — took less than an hour. That’s the story with this symptom almost every time.
Tools and Parts You’ll Need
- Socket and nut driver set — A basic 1/4-inch drive set covers most carb mounting nuts (typically 10mm). A flathead and Phillips screwdriver handle float bowl screws and air filter covers.
- Carburetor cleaner spray — Gumout Carb and Choke Cleaner or Berryman B-12 Chemtool are the two I reach for every time. Both cut through varnish fast. Available at AutoZone, Advance Auto, or any hardware store, around $6–$9 a can.
- Carburetor rebuild kit — Match this to your engine brand. Briggs & Stratton engines (very common on Craftsman, Husqvarna, Troy-Bilt) use kits like the B&S 698787 or 796184, typically $12–$18. Kohler engines take brand-specific kits, $18–$30. Honda GCV160/GCV190 kits run $15–$25. MTD-powered units vary. Search your engine model number (stamped on the engine block) to find the exact kit — available at Home Depot, Lowe’s, Amazon, or your local small-engine dealer.
- Jet cleaning wires / welding tip cleaners — A set of thin wire probes or welding tip cleaners (sold as a small numbered set) lets you physically ream out the jet passages without enlarging them. Around $4–$7 at a welding supply or hardware store.
- Small parts tray or egg carton — Keep the float, needle, and tiny screws from rolling away. A magnetic parts tray is worth every penny.
- Fresh ethanol-free fuel — TruFuel (premixed, 4-cycle) or regular 87-octane from a station that carries ethanol-free. Many outdoor power equipment dealers carry it. If you can’t find ethanol-free, use fresh 87-octane pump gas and treat it with Sta-Bil 360 Protection at the labeled ratio. Ethanol-free is available at Home Depot, Tractor Supply, or your small-engine dealer.
- Safety glasses and nitrile gloves — Carb cleaner is aggressive solvent. Wear them. No negotiation.
See Also
- Why Your Gas Grill Won’t Light — A Step-by-Step Troubleshooting Guide
- Small Engine Winter Storage: The Complete Checklist Before You Park It
- Fuel Stabilizer Guide: How and When to Use It (and Which Brands Actually Work)
Step-by-Step Fix
- Safety first — disconnect the spark plug wire. Before you touch anything else, pull the rubber boot off the spark plug and tuck it away from the plug so it can’t arc back. This prevents accidental engine start while your fingers are near the blade or inside the engine compartment. Also move the mower away from open flames, as you’ll be working with fuel. Keep a rag handy. Safety: Never work on a warm carburetor with open fuel — let the engine cool for at least 15 minutes first.
- Confirm the symptom. Start the mower cold and let it run. Note how long before it stalls — typically 5 to 15 minutes. If it restarts immediately after stalling, suspect ignition. If it won’t restart until cool, that’s your carburetor heat-stall pattern. Proceed with confidence.
- Shut off the fuel valve and drain old gas. If your mower has an inline fuel shutoff (most do — it’s a small lever near the tank outlet), close it. If not, use a fuel-line clamp or a short length of wooden dowel to pinch the fuel line. Drain remaining fuel from the bowl by loosening the bowl drain screw or disconnecting the bowl entirely over a small container. Safety: Old ethanol-blended fuel is flammable. Use a proper container and dispose of it at a recycling center — don’t pour it down a drain.
- Remove the air filter and housing. Unscrew or unclip the air filter cover. Note how the filter seats so you can reinstall it correctly. Set the filter aside — if it’s gray or clogged with debris, replace it while you’re in here ($3–$6).
- Remove the carburetor. Disconnect the throttle linkage and choke linkage (take a phone photo first so you remember where they go). Remove the two mounting nuts holding the carb to the intake. Wiggle it free. Disconnect the fuel line and let any remaining fuel drain into your container. You now have the carburetor in hand.
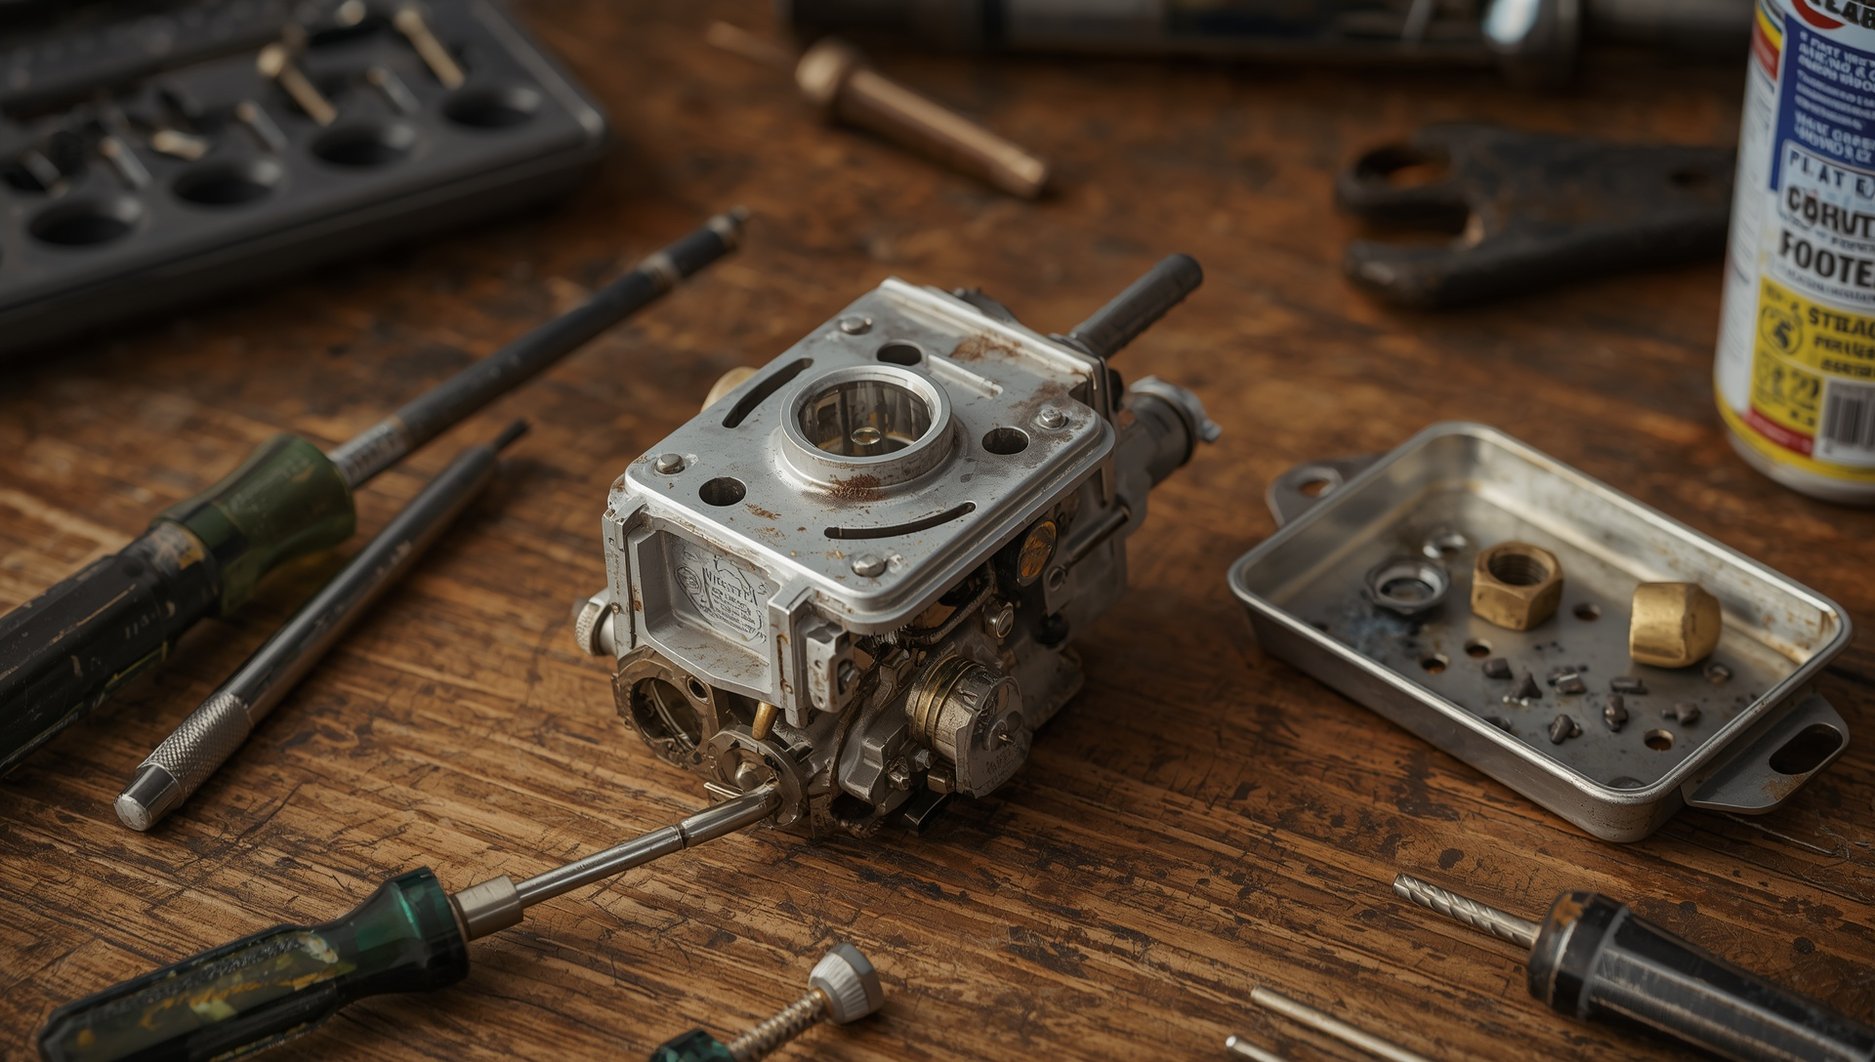
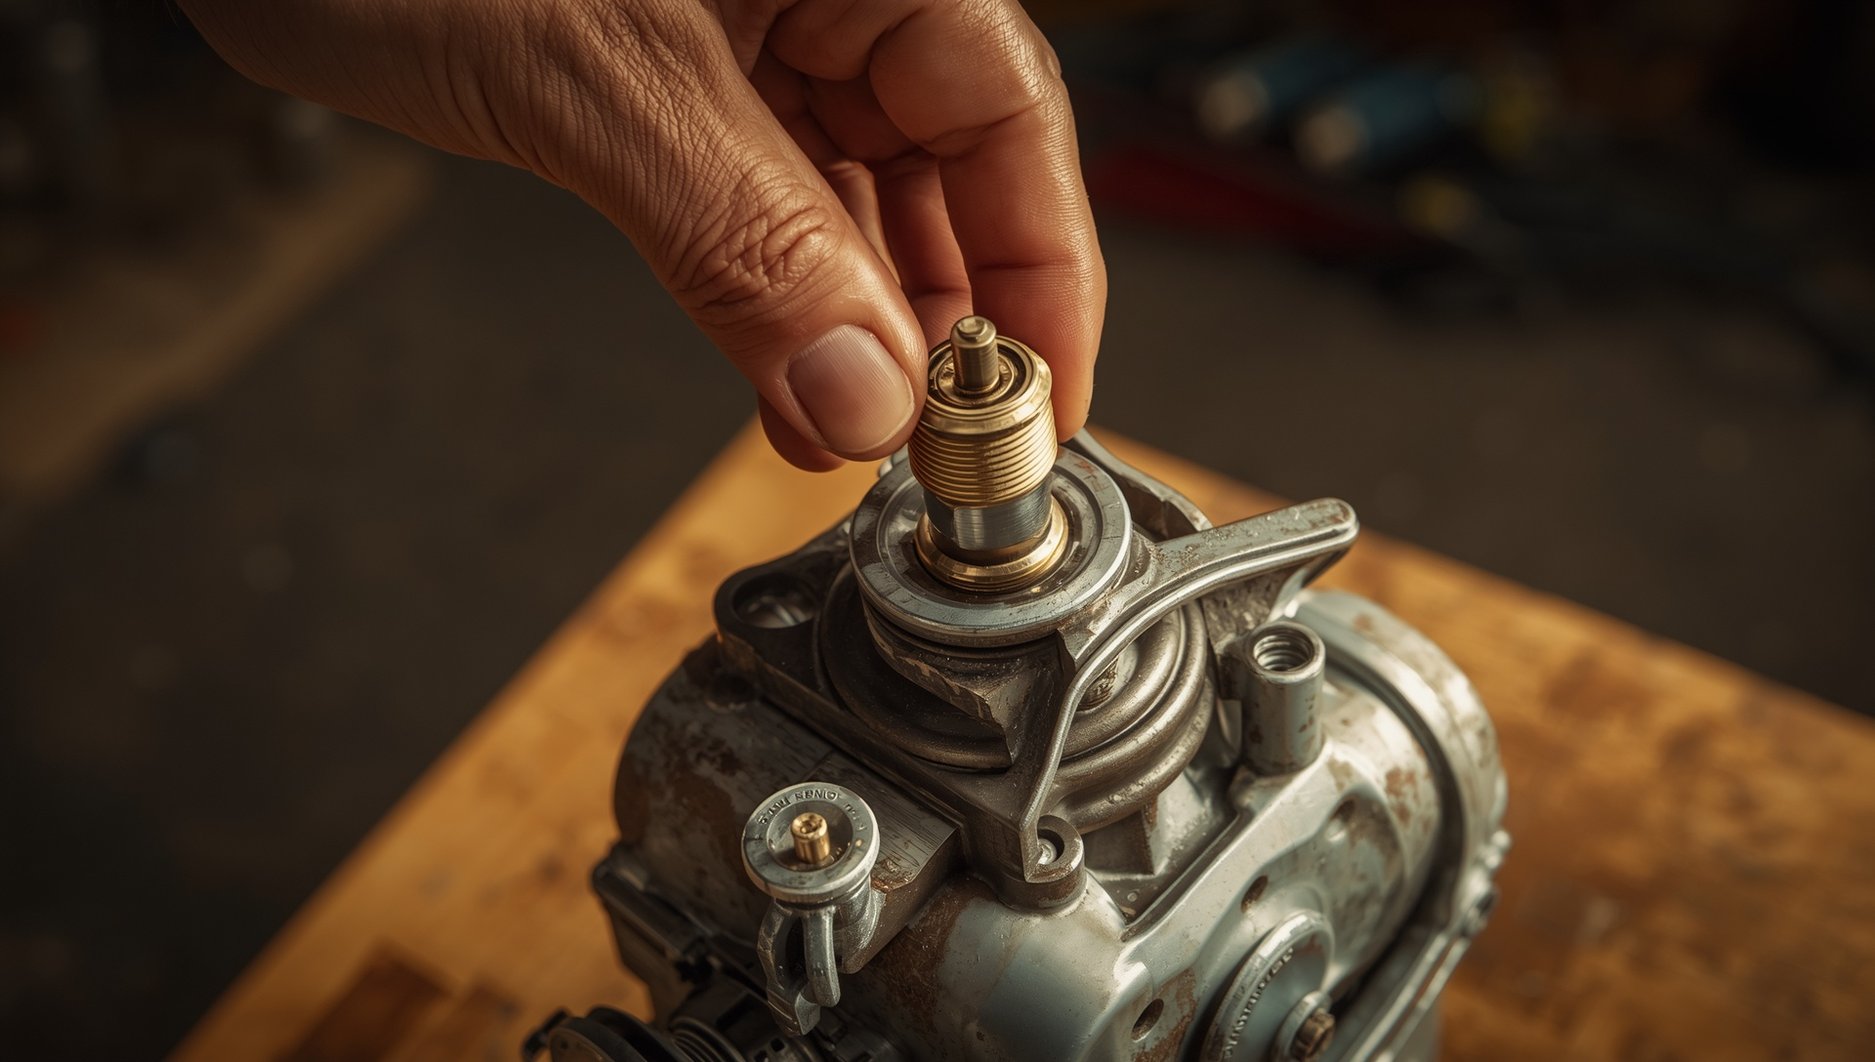
- Remove the float bowl and inspect the main jet. The float bowl is the aluminum or plastic cup on the bottom of the carb, held by one center bolt or a few screws. Remove it. Inside you’ll find the float (a small hollow pontoon), the needle valve, and — threaded into the center boss — the main jet. Unscrew the main jet carefully with a flathead that fits the slot snugly. Hold it up to a light source. The hole through the center should be perfectly round and clear. If you see brown residue, a partial blockage, or can’t see light through it cleanly, that’s your problem.
- Clean the jet and all passages. Spray carb cleaner liberally through the main jet, the emulsion tube passages, and the idle circuit ports — those small holes in the carb body. If the jet is partially blocked, use the finest wire from your tip-cleaner set to gently ream through the hole. Do not use a drill bit or anything that enlarges the orifice. The goal is to remove varnish, not resize the jet. Spray again, then hold the jet up to light to confirm it’s fully clear. Soak stubborn carbs in a small container of carb cleaner for 20 minutes.
- Install the rebuild kit. Open your rebuild kit. You’ll typically find a new inlet needle and seat, new float bowl gasket, new main jet (sometimes), new emulsion tube o-rings, and an accelerator pump diaphragm if your carb has one. Replace all the rubber and fiber pieces — they’re cheap insurance. The old gaskets are likely hardened and will cause leaks or lean conditions if reused. Install the new needle and seat, reassemble the float, and thread in the cleaned (or new) main jet. Snug it firmly but don’t overtighten brass — it strips easily.
- Reassemble the carburetor and reinstall. Reattach the float bowl with the new gasket. Remount the carb to the intake with the original nuts — snug, not cranked. Reconnect the throttle and choke linkages (refer to your phone photo). Reconnect the fuel line and open the fuel valve. Reinstall the air filter housing.
- Add fresh fuel with stabilizer, reconnect plug wire, and test. Fill the tank with fresh ethanol-free fuel or treated pump gas. Reconnect the spark plug wire. Start the mower and let it run through the full warm-up cycle — 15 to 20 minutes under load if possible. It should hold RPM steady without hunting or stalling. If it runs clean all the way through, you’re done.
What to Check If It Still Stalls When Warm
If you’ve cleaned or rebuilt the carburetor and the mower still dies after warming up, there are a handful of secondary causes worth working through before you give up or spend money on a new carb.
- Ignition coil heat failure. This is the legitimate second-order cause that mimics a carb problem almost perfectly. The ignition coil (also called the armature) sits about 0.010 inches from the flywheel and generates the spark. Some coils develop internal cracks in the coil windings that only become apparent when the coil gets hot — typically after 10 to 20 minutes of running. Cold, the coil fires fine. Warm, the crack opens up, resistance skyrockets, and spark disappears. Test by spraying the coil with carb cleaner to cool it quickly during a stall — if it restarts immediately, the coil is suspect. Coil replacement is straightforward and runs $15–$45 depending on the engine.
- Gas cap vent blocked (vapor lock). The fuel cap has a small vent hole that allows air into the tank as fuel drains down. If that vent is clogged, the tank creates a vacuum that eventually stops fuel flow. Simple test: loosen the gas cap slightly and run the mower. If it stops stalling, clean or replace the cap. Caps run $3–$8.
- Valve lash too tight. Engine valves need a small amount of clearance to operate correctly. If intake or exhaust valve lash is too tight, the valve doesn’t fully close when hot (metal expands), causing compression loss and rough running or stalling. Valve adjustment requires a feeler gauge and some mechanical comfort — intake and exhaust clearances are typically 0.004–0.006 inches on most small 4-cycle engines. Check your engine spec sheet.
- Stale fuel still in the fuel line. Even after adding fresh gas to the tank, old varnished fuel can sit in the fuel line or primer bulb. Run the tank close to empty before refueling, and consider replacing the fuel line if it’s gone brown or brittle.
- Dirty or blocked cooling fins. Small air-cooled engines rely on cast fins around the cylinder to dissipate heat. If those fins are packed with grass clippings, dirt, or debris, the engine runs hot — and engines running hot will stall or knock. Pop the engine cover shroud and clean the fins with compressed air or a stiff brush annually.
When to Call a Pro
Most warm-stall problems fall squarely in DIY territory. But there are situations where dropping the mower off at a small-engine shop is the right call.
If you’ve confirmed the coil is failing, replacement itself isn’t hard, but if the flywheel key is sheared (which can happen after a blade strike and affects ignition timing), getting the flywheel off requires a puller tool most homeowners don’t own. A shop can handle that in under an hour.
Valve lash adjustment and valve grinding are also tasks that reward experience. If compression is low on a leak-down test, you’re looking at valve work or a head gasket — both worth a professional evaluation before you go deeper.
If the mower is under warranty, do not disassemble the carburetor yourself — that typically voids the warranty. Take it to an authorized service center.
And if you’ve rebuilt the carb twice and it keeps varnishing up quickly, the root cause is how the machine is being stored. No amount of shop time fixes that — only fuel discipline does.
Frequently Asked Questions
Can I just use carb cleaner without removing the carburetor?
You can try an in-situ spray — remove the air filter, spray carb cleaner directly into the throat of the carb while the engine is running. This sometimes clears light varnish from the idle circuit and gets you through a season. But if the main jet is blocked, that approach won’t reach it. The main jet is downstream of where the spray goes. For a thorough fix — especially on a recurring problem — you need to pull the carb and clean it properly. An hour of work now beats three repeat visits to the problem.
How do I stop this from happening again?
Fuel discipline is the whole answer. Use ethanol-free gasoline whenever you can find it — it doesn’t leave the same varnish deposits and doesn’t absorb water the way E10 pump gas does. If you use regular pump gas, always add fuel stabilizer (Sta-Bil 360 or equivalent) at the labeled ratio and mix it in fresh every 30 days during the mowing season. At the end of the season, either run the tank and carb completely dry before storage, or fill the tank with stabilized fresh fuel. Never leave untreated E10 gas sitting in the carb over winter. That’s where 90% of these problems start.
Why does it only die when warm and not when it’s cold?
Cold engines run on a richer mixture — the choke plate restricts airflow, pulling more fuel through the idle circuit to compensate. A partially blocked main jet doesn’t matter much at low speeds and cold temperatures because the engine isn’t demanding full fuel flow yet. As the engine warms up, the choke opens, the governor opens the throttle, and the engine now needs fuel from the main circuit — which is where the varnish blockage is. Metal also expands slightly with heat, which can tighten a partial restriction just enough to push it over the line from “barely running” to “stalled out.” That’s why the symptom is so consistently linked to a specific warm-up time window.
Is it worth rebuilding or should I replace the carburetor?
On a mower that’s otherwise in good shape, a $12–$20 rebuild kit is almost always worth it before buying a replacement carb. Aftermarket replacement carbs for common Briggs and Kohler engines run $15–$45 online, so the economics aren’t dramatically different — but a rebuild on a clean carb body is more reliable than a cheap offshore replacement with unknown quality control. If the carb body itself is cracked, the bowl threads are stripped, or the throttle shaft is worn with visible play, replace the whole unit. Otherwise, rebuild first.
Sources
- Briggs & Stratton Support FAQs — Official small-engine troubleshooting and carburetor service guidance from the largest residential lawn mower engine manufacturer.
- iFixit Lawn Mower Repair Guides — Community-maintained teardown and repair guides with step-by-step photos for common small-engine disassembly procedures.
- US EPA Gasoline Standards — Ethanol and E15 — Federal guidance on ethanol fuel blends, E15 restrictions on small off-road engines, and fuel compatibility information.
Our Point of View
In our experience at FixItWhy, at least 90% of warm-stall complaints on residential push and riding mowers trace back to the carburetor — specifically ethanol-varnish buildup in the main jet or metering passages. It’s a preventable problem that fuel discipline eliminates almost entirely. We want to be straight with you: if you’ve cleaned the carb thoroughly and the problem persists past 20 minutes of run time, the ignition coil becomes a real suspect and deserves a proper test rather than another carb clean. But start with the fuel system. It’s almost always the answer.
This article was reviewed by our editorial desk for accuracy. John Fix is verified at LinkedIn. Sources are linked inline and listed above. We update articles when new information becomes available. Last reviewed: June 3, 2026.
Related Reading
- How to Clean a Lawn Mower Carburetor: The Complete Step-by-Step Guide
- Ethanol-Free Gas vs. Regular Gas: What Small Engine Owners Need to Know
- Lawn Mower Won’t Start After Winter Storage — 7 Fixes That Actually Work

John Fix
John Fix is a hands-on handyman with 20+ years fixing engines and home gear, one bench job at a time.
Disclaimer
The views, opinions, and analysis expressed in this article are solely those of the author and FixItWhy Media. They do not constitute professional advice — whether legal, financial, medical, or otherwise. You are free to agree or disagree with our perspective.
This content is provided for informational and editorial purposes only. We make no representations or warranties of any kind, express or implied, about the completeness, accuracy, reliability, or suitability of the information contained herein. Any action you take based on the information in this article is strictly at your own risk.
If the subject matter involves financial decisions, health concerns, legal matters, home safety, or any regulated activity, we strongly recommend consulting with a qualified licensed professional before taking action. FixItWhy Media and its authors accept no liability for any loss, damage, or injury arising from the use of this information.
© FixItWhy Media. All rights reserved.
FixItWhy Score: 7.3 / 10