
It is the first real heat wave of the summer, you flip the window unit to its coldest setting, and twenty minutes later the room is still sticky and the air coming out feels like a warm breath. Before you call it dead and shop for a replacement, hear me out: the vast majority of window air conditioners that “stop cooling” are not broken at all. They are choked. A clogged filter and a coat of dust on the coils starve the unit of airflow, and once airflow drops far enough the cold coil freezes into a solid block of ice that blocks what little air was left. You can usually undo all of that in about thirty minutes with a screwdriver and a vacuum.
From the Bench: What I Find When I Pull One Apart
I get a call about a “broken” window AC at least once a week every June. Last Saturday a neighbor was sure hers needed a refrigerant recharge — she had already priced out a new 8,000 BTU unit. I pulled the front grille off and the foam filter was so packed with pet hair and dust you could not see light through it. Behind it, the evaporator coil had a quarter inch of fuzz on the fins and a skin of frost forming on the bottom. Nothing wrong with the sealed system at all. The unit could not breathe. Ten minutes with a vacuum, a thawed coil, and a wiped-down condenser, and it was throwing 58°F air by the time I left. That is the pattern nine times out of ten. People assume “no cold air” means “out of refrigerant,” but a window AC is a sealed system — it does not burn off refrigerant like a car loses oil. If it was cooling fine last summer and the charge has not leaked, the problem is almost always airflow.
Tools and Parts You’ll Need
This is a low-cost job. Most of it is cleaning, not parts. Here is what I keep on the bench for it:
- Phillips and flathead screwdrivers — to remove the grille and the cabinet screws.
- Shop vacuum with a soft brush attachment — the single most useful tool here.
- Fin comb (fin straightener) — a couple of dollars at any hardware store, sold at Home Depot or Lowe’s. Use the spacing that matches your fins.
- No-rinse foaming coil cleaner — a $7 can of evaporator/condenser coil cleaner does the deep work a vacuum can’t.
- Spray bottle with warm water and a drop of mild dish soap — for the grille and filter.
- Replacement foam or mesh filter — only if the old one is torn. Most are washable and reusable.
- Shop towels and a soft nylon brush.
Total cost if you are buying everything fresh: under $20. Compare that to a new unit.
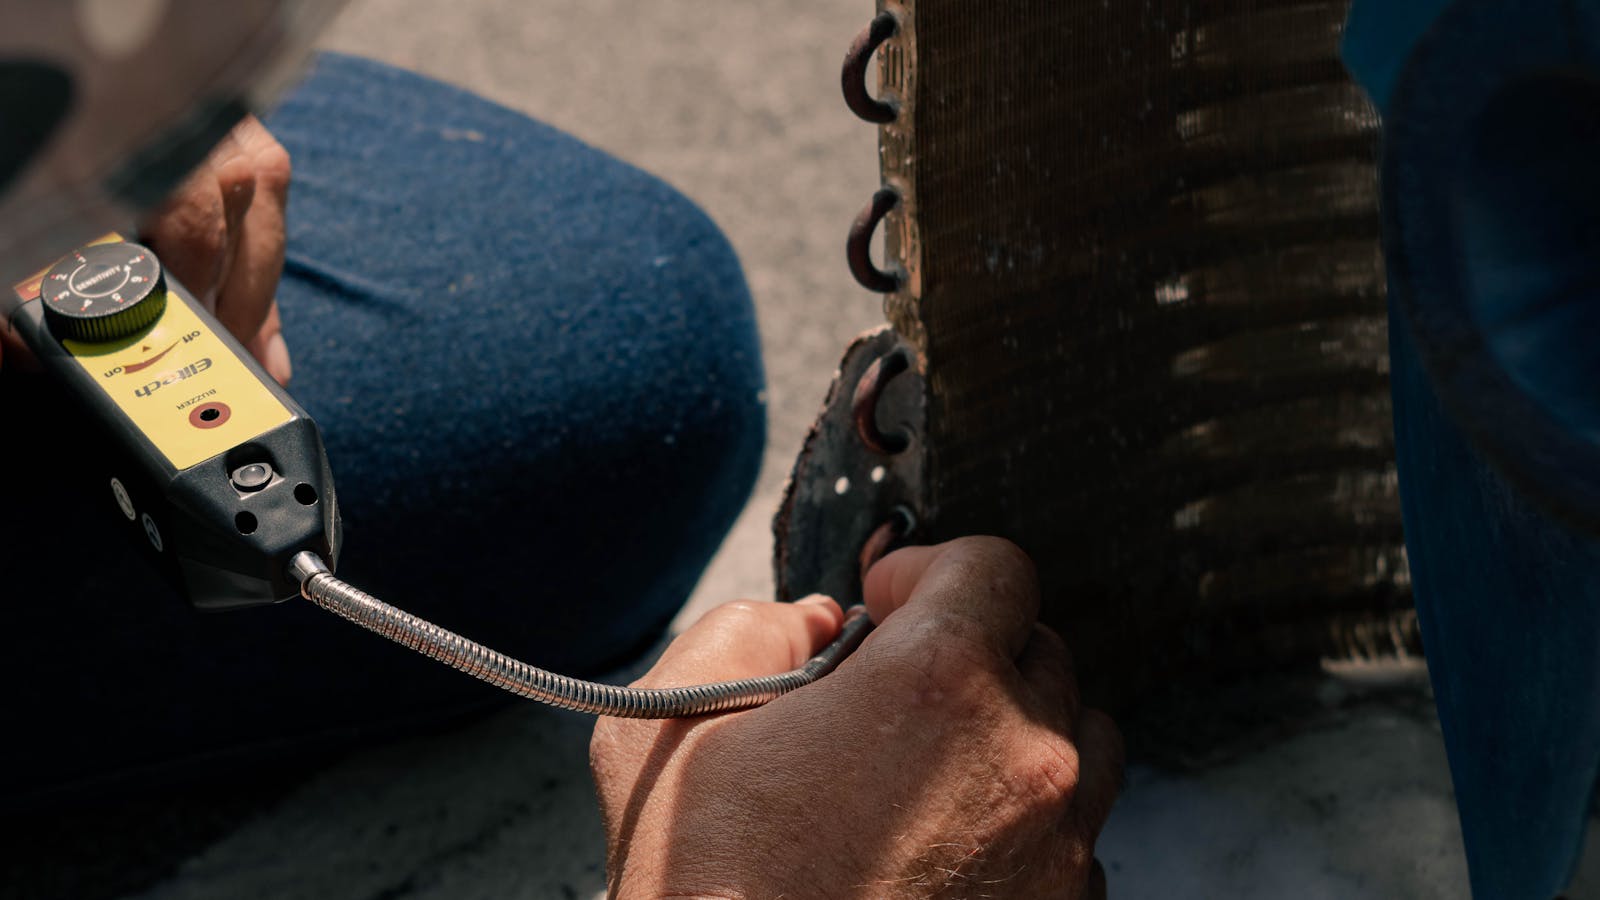
See also: Why Your Dryer Takes Forever to Dry Clothes · Why Isn’t Your Washing Machine Draining? · Why Your Water Heater Pilot Light Won’t Stay Lit
How to Fix a Window AC That Won’t Cool: Step by Step
- Unplug the unit. Every time. This is not optional. A window AC has a capacitor and a compressor motor that can deliver a serious shock. Pull the plug from the wall before you touch a single screw — do not just turn it off at the controls.
- Remove the front grille and pull the filter. Most grilles pop off with a couple of tabs or two screws. The filter sits right behind it. If it is gray, matted, or you cannot see light through it, that is very likely your whole problem.
- Wash or replace the filter. Rinse a reusable filter in warm soapy water, shake it out, and let it dry completely before it goes back in. A wet filter just collects more dust. Replace it only if it is physically torn.
- If you see ice, let it fully thaw first. Found frost or a block of ice on the coil? Run the unit on fan only (no cooling) for 30 to 60 minutes, or just leave it unplugged and open. Never chip ice off the fins — you will bend or puncture them. The coil must be dry before you keep going.
- Slide the chassis out of the cabinet. Remove the cabinet screws and gently pull the AC body forward onto a sturdy table. Get a helper for anything over 6,000 BTU — they are heavier than they look and awkward to balance.
- Vacuum and brush both coils. The evaporator (indoor side) and condenser (outdoor side) are those tight metal fins. Vacuum the loose dust with the soft brush, then brush gently in the direction of the fins, never across them.
- Apply no-rinse coil cleaner. Spray the foaming cleaner onto both coils, let it sit the few minutes the can specifies, and let it drain into the base pan. It dissolves the greasy film a vacuum leaves behind. Keep it off the electrical box and the fan motor.
- Straighten any bent fins. Run the fin comb through flattened areas to reopen the air channels. Even cooling-capable fins do nothing if the air can’t pass through them.
- Clear the drain and base pan. Flush out the channel where condensate collects and make sure the small weep holes and the slinger ring around the rear fan are clear. A blocked drain backs water up onto the coil and contributes to freezing.
- Check the seals, reassemble, and test. Make sure the foam side curtains and window gaskets actually seal the gap — warm outdoor air leaking in feels exactly like “weak cooling.” Slide the chassis back, screw the cabinet on, reinstall the dry filter, plug in, and set it to the coldest setting. Hold a thermometer at the outlet vent, then at the intake. You want roughly a 15 to 20°F temperature drop between them. That split tells you the system is cooling properly.
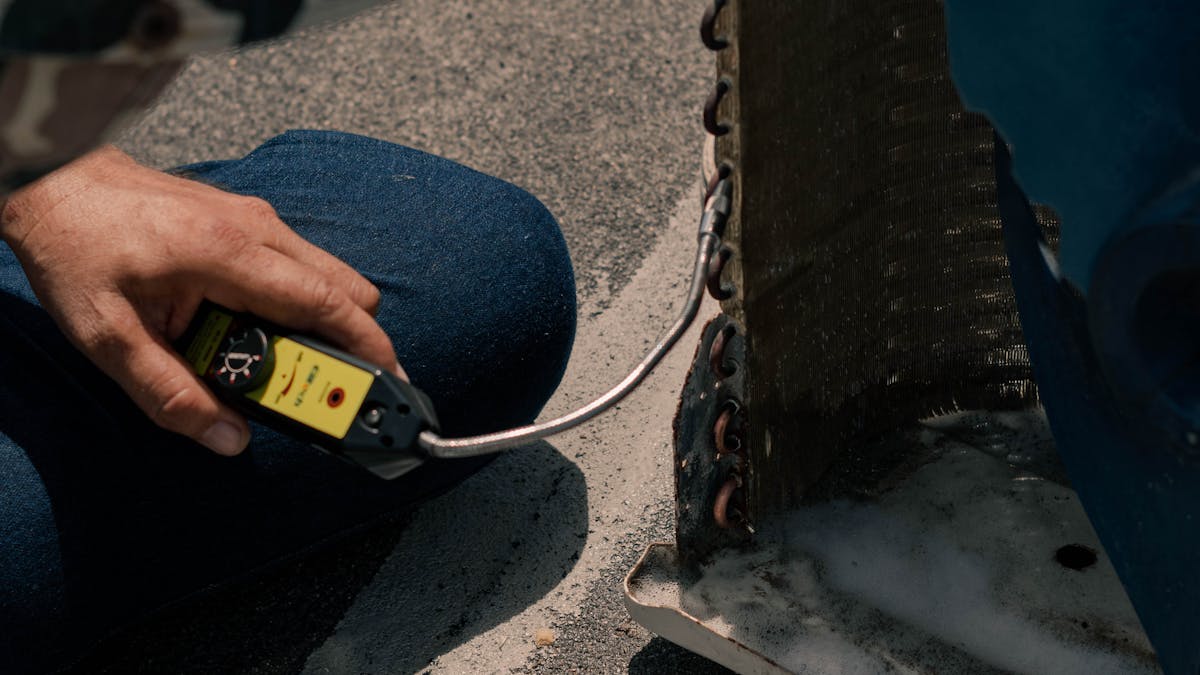
What to Check If It Still Won’t Cool
You cleaned everything and it is still blowing weak? Work through these in order:
It freezes up again within an hour. If airflow is now good and it still ices, the sealed system may genuinely be low on refrigerant from a slow leak. That is a job for a certified tech — you cannot legally or safely recharge a sealed window unit yourself.
The compressor hums but never gets cold. A failed run capacitor is a common, cheap culprit, but capacitors store a dangerous charge even after unplugging. If you are not trained to discharge one, stop here. If the compressor itself is dead, the unit is usually not worth repairing.
It cools a little but never keeps up. Check the BTU rating against your room size. A 5,000 BTU unit will never cool a 400-square-foot living room in a heat wave, no matter how clean it is. It is sized too small, not broken.
Warm air is sneaking in. Gaps around the unit, an un-insulated accordion side panel, or sun blasting the cabinet all sabotage a perfectly good AC. Seal the gaps and shade the outdoor side if you can.
When to Call a Pro
Cleaning, filters, fins, and drains are squarely DIY territory. But draw the line at the sealed refrigerant circuit. Under EPA Section 608, it is illegal to intentionally vent refrigerant, and recharging or repairing a sealed system requires certification and the right equipment. Call a licensed HVAC tech for a confirmed refrigerant leak, a dead compressor, or a control board failure. And if you are not comfortable discharging a capacitor, let a pro handle any electrical component repair — the few dollars you’d save are not worth the shock risk.
Frequently Asked Questions
How often should I clean my window AC filter?
Every two to four weeks during cooling season, and more often if you have pets or run it constantly. A two-minute rinse is the cheapest cooling upgrade you can make.
My AC is icing up — doesn’t that mean it’s low on refrigerant?
Usually the opposite. Restricted airflow from a dirty filter or coil is the number one cause of a frozen evaporator. Clean it and restore airflow first; only suspect refrigerant if it still freezes with everything spotless.
Can I spray water or cleaner inside my window AC?
Yes, on the coils and base pan, as long as the unit is unplugged and you keep water off the electrical box, control panel, and fan motor. No-rinse coil cleaner is designed for exactly this.
What’s a normal temperature drop for a window AC?
About 15 to 20°F between the air going in and the air coming out. Much less than that with clean coils points to a refrigerant or compressor issue.
Sources
- U.S. Department of Energy — Room Air Conditioners (energy.gov)
- U.S. EPA — Section 608 Refrigerant Regulations (epa.gov)
- Family Handyman — Why Isn’t My Window Air Conditioner Blowing Cold Air?
Our Point of View
If there is one habit that will save you the most money on cooling, it is this: treat a window AC like a tool that needs cleaning, not an appliance you install and forget. We have lost count of the perfectly good units hauled to the curb every July because nobody pulled the filter. Airflow is everything with these machines — clean the filter monthly, deep-clean the coils at the start and middle of every season, and most window units will cool hard for ten-plus years. Reach for the refrigerant theory last, not first. It is the rarest cause and the one thing on this list you should never DIY.
This article was reviewed by our editorial desk for accuracy. John Fix is verified at LinkedIn. Sources are linked inline and listed above. We update articles when new information becomes available. Last reviewed: June 4, 2026.

John Fix
John Fix is FixItWhy’s hands-on repair specialist. He spends his weekends with a screwdriver in hand and writes step-by-step fixes the way he’d explain them across a workbench — plainly, safely, and without the upsell.
Disclaimer
The views, opinions, and analysis expressed in this article are solely those of the author and FixItWhy Media. They do not constitute professional advice — whether legal, financial, medical, or otherwise. You are free to agree or disagree with our perspective.
If the subject matter involves financial decisions, health concerns, legal matters, home safety, or any regulated activity, we strongly recommend consulting with a qualified licensed professional before taking action. FixItWhy Media and its authors accept no liability for any loss, damage, or injury arising from the use of this information.
© FixItWhy Media. All rights reserved.
Related Reading: Why Your Lawn Mower Dies After It Warms Up · Why Your Garbage Disposal Hums But Won’t Spin · Why Isn’t Your Washing Machine Draining?
FixItWhy Score: 8.4/10 — A high-payoff, low-cost repair almost anyone can do with a screwdriver and a vacuum.