By John Fix — June 15, 2026
Why Your Faucet Keeps Dripping (and How to Fix It in 20 Minutes)
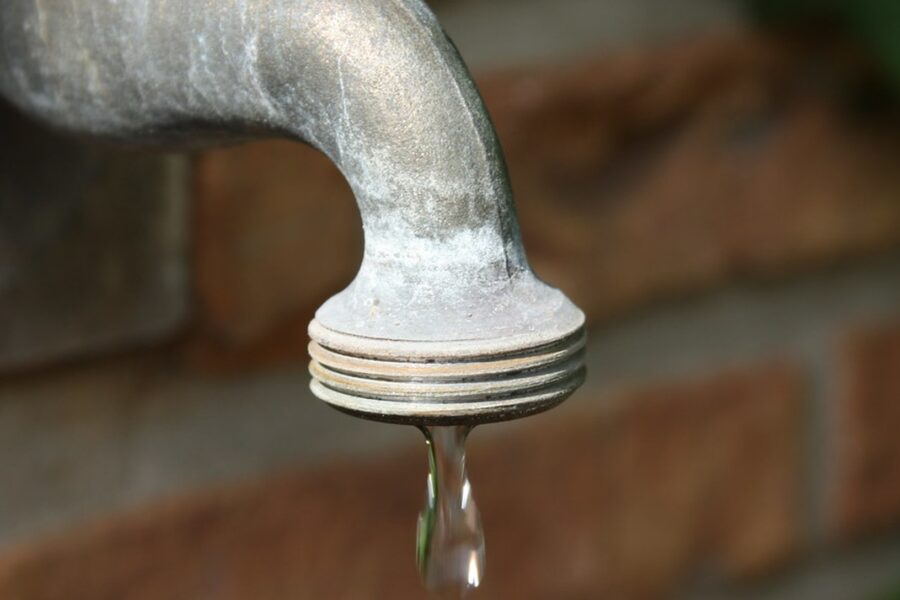
It’s 2 AM. You’re lying there listening to it — drip… drip… drip — and you cannot turn your brain off. That sound isn’t just annoying; it’s money circling the drain. A single dripping faucet wastes more than 3,000 gallons of water per year according to the EPA. At average U.S. water rates, that’s $20–$35 gone before you’ve noticed, and in drought-flagged states the penalty is steeper. Here’s the part nobody tells you at the hardware store: 90% of dripping faucets come down to one worn $5–$15 part. With the right part in hand, the whole repair takes about 20 minutes. No plumber required.
Fixed one of these on a callout last week — homeowner was convinced she needed a whole new faucet, said it had been dripping for three months. Turned out to be a Moen 1225 cartridge that had finally given up the ghost. The O-ring on the lower half was cracked clean through, looking like a dried rubber band left in a hot car. Pulled the old one, pressed the new one in, done in 18 minutes including cleanup. She had already gotten a quote for $280 from a plumber. The cartridge cost $12.47 at Home Depot. That’s a story I see play out two or three times a month — the problem almost never is what the homeowner fears it is.
First, Figure Out What Kind of Faucet You Have
The repair procedure depends entirely on the faucet type. There are four kinds you’ll run into in a residential home:
- Compression faucet — The oldest design. Two separate handles (one hot, one cold) that you physically press down to stop the flow. When they drip, it’s almost always a worn rubber washer at the bottom of the stem. Common in homes built before 1970, but still sold in basic utility sinks.
- Ball faucet — Single handle that rotates over a dome-shaped cap. Moves in all directions to control mix and volume. Popular in kitchens (Delta makes a lot of these). Drips happen when the seats, springs, or ball itself wear out.
- Cartridge faucet — Single or double handle, but the mechanism inside is a removable cartridge rather than a ball. Moen and Kohler lean heavily on this design. One cartridge swap fixes most drips.
- Ceramic-disc faucet — Single wide lever over a cylindrical body. Two ceramic discs inside control flow; they crack or get clogged with mineral deposits. More common in European-style and higher-end fixtures. Durable, but not immune to failure.
Flip both handles if you have them. Compression faucets require you to crank down to close — you’ll feel the resistance. Single-handle designs that rotate left-right are usually ball faucets; those that pull up and down are typically cartridge. If you’re still not sure, check the brand name on the faucet body and cross-reference the manufacturer’s website.
Tools & Parts You’ll Need
- Adjustable wrench — 10″ is the right size for most supply lines and packing nuts
- Allen/hex key set — Most modern faucet handles use a set screw; metric and SAE both, you never know which until you’re under there
- Phillips and flathead screwdrivers — Flathead for popping decorative caps; Phillips for handle screws on older compression faucets
- Slip-joint pliers — Wrap the jaws with tape if you’re working on chrome so you don’t scratch the finish
- Plumber’s silicone grease — e.g., Danco Waterproof Silicone Faucet Grease (Home Depot) — use this on every O-ring before reassembly; don’t skip it
- White vinegar — For cleaning mineral deposits off the valve seat and cartridge housing
- Replacement cartridge (cartridge faucets) — e.g., Moen 1225 Replacement Cartridge (Home Depot) for most single-handle Moen; or Moen 1200 for two-handle models — always match your exact model
- Seats & springs kit (ball faucets) — e.g., Delta RP4993 Seats & Springs (Lowe’s) — comes in packs of 6 pairs, costs about $4
- Faucet washer assortment (compression faucets) — e.g., Danco Faucet Washer Assortment (Home Depot) — a flat rubber washer is all that stands between you and silence
- O-ring assortment — e.g., Danco O-Ring Assortment Kit (Lowe’s) — keep a full kit on hand; a single O-ring is often the only failure point
Pro tip: Before you buy parts, pull the handle and cartridge first, bring them to the store, and match them physically. Faucet model numbers change between production runs and a visual match beats a catalog guess every time.

See Also
- How to Repair a Leaking Pipe Under the Bathroom Sink
- How to Troubleshoot Noisy Plumbing
- Why Your Toilet Keeps Running After You Flush
Step-by-Step: Stop the Drip
- Shut off the water supply and prep the work area. Look under the sink for the supply stop valves — one for hot, one for cold — and turn both clockwise until they stop. If those valves are stuck or non-existent, shut off the main supply to the house. Once the water is off, open the faucet handle to relieve residual pressure and let any remaining water drain out. Plug the drain with a rag or stopper right now — you will drop a screw into it, and it will cost you 45 minutes.
- Pop the decorative cap and remove the handle screw. Most faucets have a small plastic cap on top of or behind the handle. Pry it off gently with a flathead screwdriver — it just clips in. Underneath you’ll find a Phillips screw or an Allen set screw. Remove it fully and set it somewhere you won’t lose it.
- Pull the handle straight off. On older faucets that haven’t moved in years, it may be stuck. Don’t yank it at an angle — you’ll crack the plastic collar. Wiggle it gently while pulling upward. If it’s seriously bonded, a handle puller tool (about $8) will save you from breaking anything.
- Remove the retaining nut or clip. On cartridge faucets, look for a retaining clip (usually a thin U-shaped piece of metal or plastic) at the top of the cartridge. Needle-nose pliers pull it straight up. On ball and compression faucets, you’ll unscrew a packing nut with your adjustable wrench — turn counterclockwise.
- Extract the cartridge (or stem/ball). Before you pull the cartridge, note its orientation. Take a photo with your phone. The cartridge has a front and a back, and if you reinstall it 180° off, the hot and cold will be reversed — or the faucet won’t seal at all. Pull cartridge faucets straight up using cartridge-puller pliers if needed. On ball faucets, lift out the ball, then use a small flathead or dental pick to extract the rubber seats and springs from the valve body.
- Inspect what you pulled out. Look for cracked, deformed, or hardened O-rings on the cartridge body. On compression stems, check the rubber washer at the bottom — if it’s flattened, grooved, or brittle, that’s your culprit. On ball faucets, look at the seats (tiny rubber donuts) and the springs under them. Any distortion and they need to go.
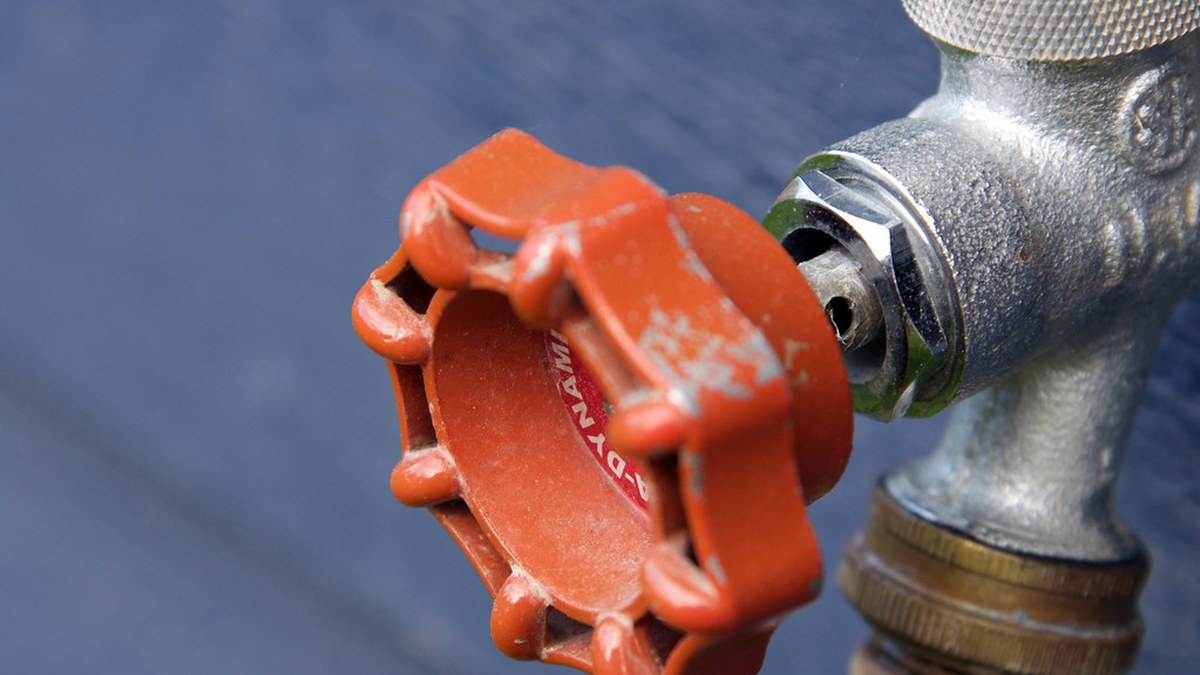
- Replace the worn part. Swap the complete cartridge if you’re dealing with a cartridge faucet — don’t try to replace just one O-ring on a cartridge that’s five years old; the rest will fail within months anyway. On compression faucets, unscrew the brass screw at the bottom of the stem and swap the washer; replace the stem O-ring while you’re in there. On ball faucets, replace all four seats and springs as a set — they cost $4 and you’re already in there.
- Clean the valve body and grease the new O-rings. Before you put anything back, shine a flashlight into the valve body. Wipe out any mineral deposits with a vinegar-soaked rag. If the valve seat feels rough to a fingernail, flush it with vinegar for 10 minutes. Then apply a thin coat of plumber’s silicone grease to every rubber O-ring and every rubber seat going back in. Dry assembly is what causes new parts to fail prematurely.
- Reassemble in reverse order. Reinsert the cartridge in the correct orientation (check your photo). Seat it fully — you should feel it click or bottom out. Replace the retaining clip or tighten the packing nut. Do not overtighten the packing nut — you will crack the cartridge or strip the threads. Snug plus a quarter turn is enough. Slide the handle back on, reinstall the screw, press the cap back in place.
- Turn the water back on slowly and test. Open the supply stop valves gradually — not all at once. Listen for the system to pressurize. With the handle in the off position, watch the spout for 60 seconds. No drip? Run both hot and cold, check the base of the faucet for leaks around the body, check under the sink at the supply connections. Everything dry? You’re done.
What to Check If It Still Drips
A new part doesn’t always mean an immediate fix. Here’s where to look if the drip continues:
- Wrong cartridge model. This is the most common post-repair failure. Moen alone has over 30 cartridge models. Double-check your faucet’s model number on the underside of the faucet body or in the installation manual. The 1225 and 1200 are not interchangeable.
- Damaged valve seat. The metal seat inside the faucet body that the washer or cartridge presses against can pit or corrode, especially in hard-water areas. A damaged seat will chew through new washers fast. You can dress (resurface) the seat with an inexpensive seat wrench tool, or if it’s threaded, unscrew it entirely and replace it.
- Worn seats and springs on ball faucets. If you only replaced the ball and not the seats and springs, you left the most common failure point in place. Pull it back apart and replace them.
- Hairline crack in the faucet body. Rare, but it happens — especially with ceramic-disc models dropped during a prior repair, or with cheap imported fixtures. If water seeps from the body itself rather than the spout, the faucet needs to be replaced, not repaired.
- It’s not the spout dripping — it’s the base. Water pooling at the base of the faucet is usually a failed O-ring on the faucet body itself (where it meets the sink deck) or a loose supply line connection underneath. Look carefully at where the water is actually coming from before you pull the cartridge again.
When to Call a Pro
Most dripping faucets are DIY-friendly. These situations are the exception:
- Corroded or seized valve stems. If the packing nut hasn’t moved in 20 years, forcing it risks snapping the stem inside the valve body — and now you’ve got a much bigger problem. A plumber has tools and experience to extract damaged stems without destroying the surrounding pipe.
- No working shutoff valves. If the supply stops under the sink are frozen solid or non-existent, you have to shut off the main to do anything. That’s manageable for a confident DIYer, but if your main shutoff also doesn’t close completely, you need a licensed plumber — because fixing the faucet may require soldering work on copper supply lines.
- Leaks behind the wall. If the drip is coming from inside the wall cavity or you can hear water where there shouldn’t be any, stop what you’re doing and call a plumber. Water in walls causes structural damage and mold within days.
- Cracked faucet body. Not repairable. Replacement is the only fix, and if the valve connections behind the wall are old threaded galvanized pipe, that replacement may involve more than just swapping a faucet.
FAQ
Why does my faucet drip only sometimes?
An intermittent drip usually means the worn part is right on the edge of failure — it seals under low pressure or cold conditions but fails when water pressure spikes or the rubber warms up and swells slightly. It also happens with cartridges that have a cracked O-ring in just one spot; depending on how the cartridge sits after each use, it may or may not land on the damaged area. Fix it now — intermittent always becomes constant.
Can I fix a dripping faucet without turning off the water?
No. Do not attempt this. The moment you remove the cartridge or stem with live water pressure behind it, you will have an uncontrolled spray inside your cabinet. Supply stops exist for exactly this reason. If your supply stops are broken or missing, shut off the house main before you start. Never skip this step.
How much does it cost to fix vs. replace?
A DIY repair runs $5–$20 in parts for most faucets. A plumber’s service call to do the same job typically runs $150–$300 depending on your market. A new mid-range faucet from Moen or Delta costs $80–$180 plus $100–$200 for installation. If the faucet body is cracked or the fixture is 25+ years old, replacement might make sense. For anything less than that, a $12 cartridge is the right answer.
Why is my new cartridge still dripping?
Four likely causes: you installed it 180° out of orientation, the valve seat in the faucet body is damaged and needs dressing or replacement, you have the wrong cartridge model for your faucet, or you didn’t fully seat the cartridge before reassembling (it needs to bottom out completely in the housing). Pull it back out, check each one of those, and reinstall. The part itself is almost never defective out of the box.
Sources
- U.S. EPA WaterSense — Fix a Leak Week: Household Leak Facts
- Moen Support — Cartridge Identification & Replacement Guides
- Delta Faucet — Service Parts & Repair Resources
- This Old House — How to Fix a Leaky Faucet (Step-by-Step Guide)
Our Point of View
A dripping faucet is the cheapest plumbing fix in the house and, honestly, one of the most satisfying. You spend $9 on a cartridge, 20 minutes on your back under a sink, and that noise that’s been eating at you for three weeks is gone. Don’t let a worn rubber part guilt you into a $250 service call. Learn this repair once and you’ll never pay for it again.
Image credits: featured photo “Leaky faucet” by VanDammeMaarten; in-body photos by AFresh1 and chimpwithcan – all via Flickr under CC BY 2.0.
FixItWhy Score: 7.7/10 – high-confidence, beginner-friendly plumbing fix with clear pro-handoff guidance.
Editorial Review & Transparency
This article was reviewed by our editorial desk for accuracy. John Fix is verified at LinkedIn. Sources are linked inline and listed below. We update articles when new information becomes available. Last reviewed: June 15, 2026.
 Connect on LinkedIn ↗